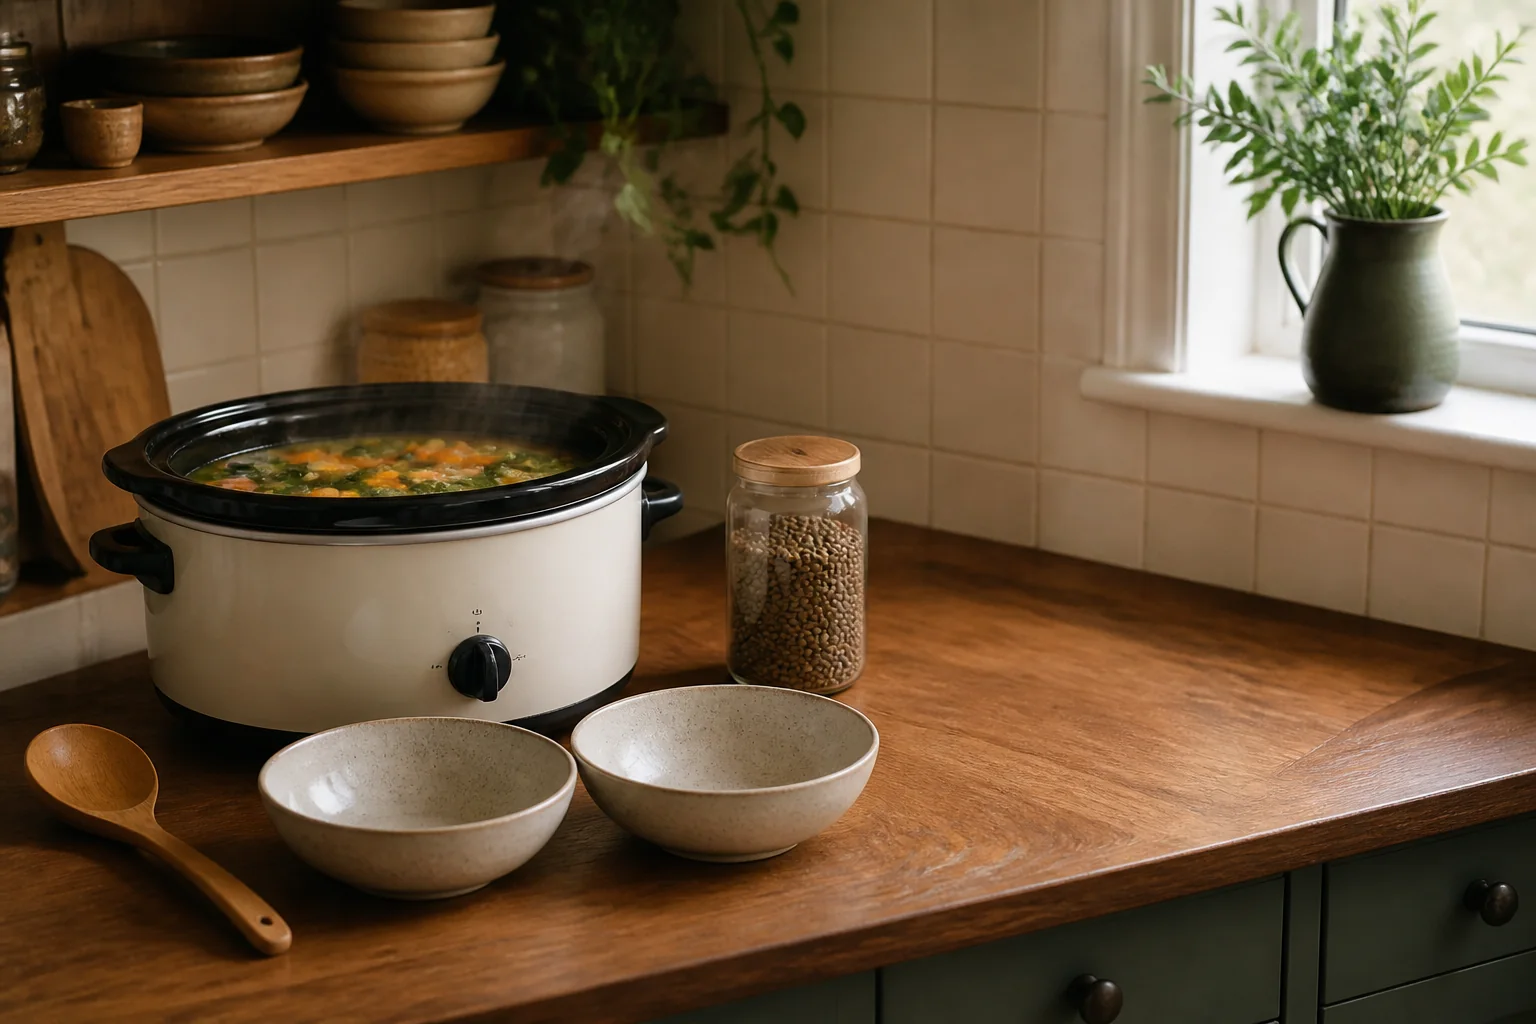
Soup is supposed to be forgiving. It can stretch what is already in the refrigerator, welcome a bag of lentils that has been waiting in the cupboard, and turn an ordinary evening into something that feels cared for. Yet in a small kitchen, the hardest part is often not the recipe. It is finding the pot behind the other pots, making room for the lid, locating the bowls, and discovering halfway through dinner that the broth is still at the back of a crowded shelf.
A useful soup corner is much simpler than a styled display. It is one pot or appliance, one clear heat-safe work zone, and the few things you reach for placed within a step. The goal is not to buy a matching collection. It is to remove the small interruptions that make an easy dinner feel difficult.
1. Clear the square foot before buying anything
Begin with the counter, not a shopping cart. Clear a space about the size of a dinner plate beside the cooker or stovetop. Give the lid a heat-safe landing place, move mail and decorative objects elsewhere, and make sure a cord never has to cross the sink or a hot burner.
If the kitchen has almost no counter space, make the change temporary: pull out the cutting board only while chopping, return ingredients as soon as they are used, and keep the final square foot clear until the pot is put away. That little stretch of breathing room does more for soup night than another countertop organizer.
2. Choose a cooker that fits the kitchen and household
A slow cooker can be helpful when a recipe benefits from steady, hands-off cooking, but bigger is not automatically better. A smaller household, shallow cabinet, and modest batch of soup may be better served by a compact model—or by the lidded pot already in the kitchen.
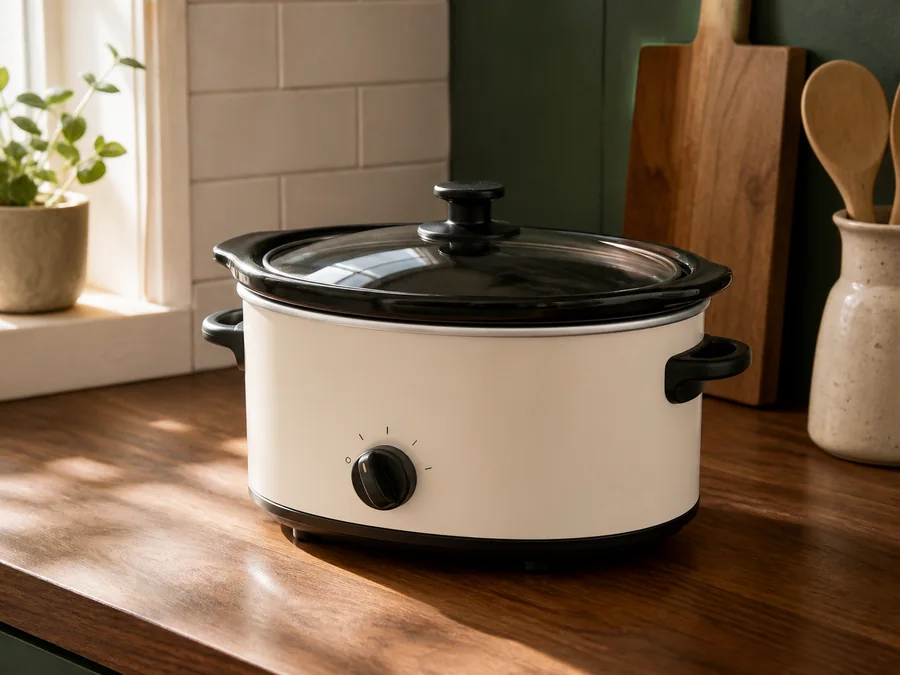
Paris Hilton 3.5-Quart Manual Slow Cooker
The listing describes Low, High, and Warm settings with a removable stoneware insert and glass lid. The 3.5-quart capacity may suit smaller households, side dishes, or kitchens where a full-size cooker would take over the counter.
Check before buying: measure the footprint with the lid open and confirm outlet and cord placement. This is a manual model without a programmable timer, and the white-and-gold styling will not suit every kitchen.
Check current details on Amazon →No-buy version: use the lidded pot you already own and choose a recipe sized to it. Keep an active stovetop attended, follow the recipe’s heat guidance, and never treat a stovetop pot like an unattended slow cooker.
3. Blend in the pot without adding another countertop appliance
For squash, tomato, bean, and potato soups, an immersion blender can smooth the pot without transferring hot liquid into a countertop blender. It earns its space most easily when the blending arm detaches and the tool can live in a drawer instead of becoming permanent counter clutter.
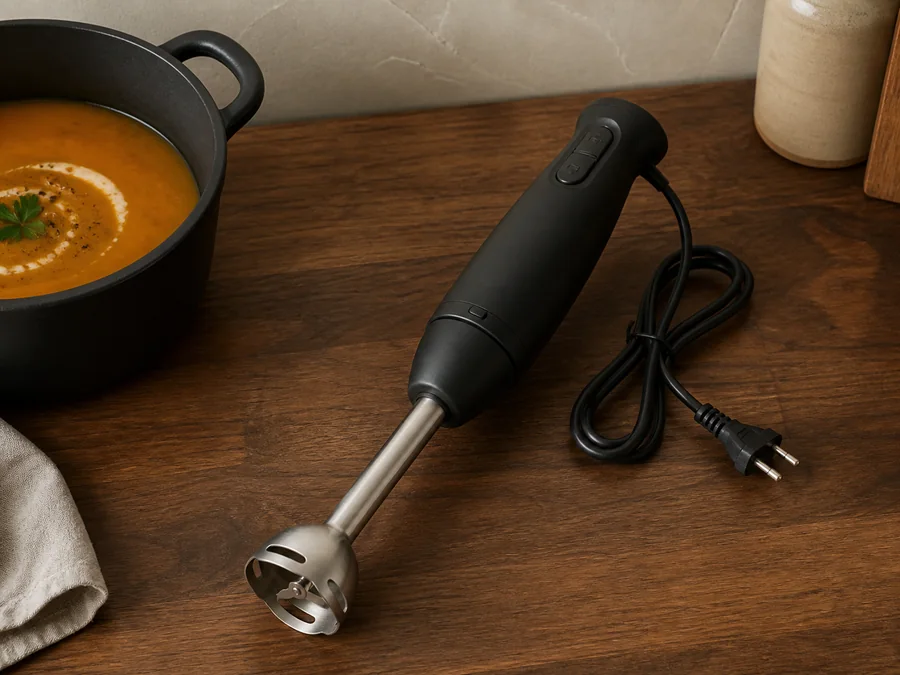
KitchenAid Variable Speed Corded Hand Blender, KHBV53
The listing includes a removable eight-inch blending arm, variable-speed trigger, four-point stainless blade, pan guard, and three-cup blending jar. The detachable arm gives it a smaller storage footprint than a full countertop blender.
Check before buying: make sure the cord reaches safely and the shaft suits the depth of your pot. Keep the bell submerged before starting to reduce splatter, and unplug the blender before detaching or cleaning the arm.
Check current details on Amazon →No-buy version: a potato masher makes a nicely textured bean or potato soup. If you use a blender you already own, cool or portion the soup only as its instructions require and follow the appliance’s guidance for hot liquids.
4. Put bowls where one hand can reach them
A soup bowl does not need to be special. It needs to be comfortable to carry, easy to fit in the cupboard, and appropriate for the way you reheat and clean dishes. Moving the bowls you use most to the front of a shelf may be the whole solution.
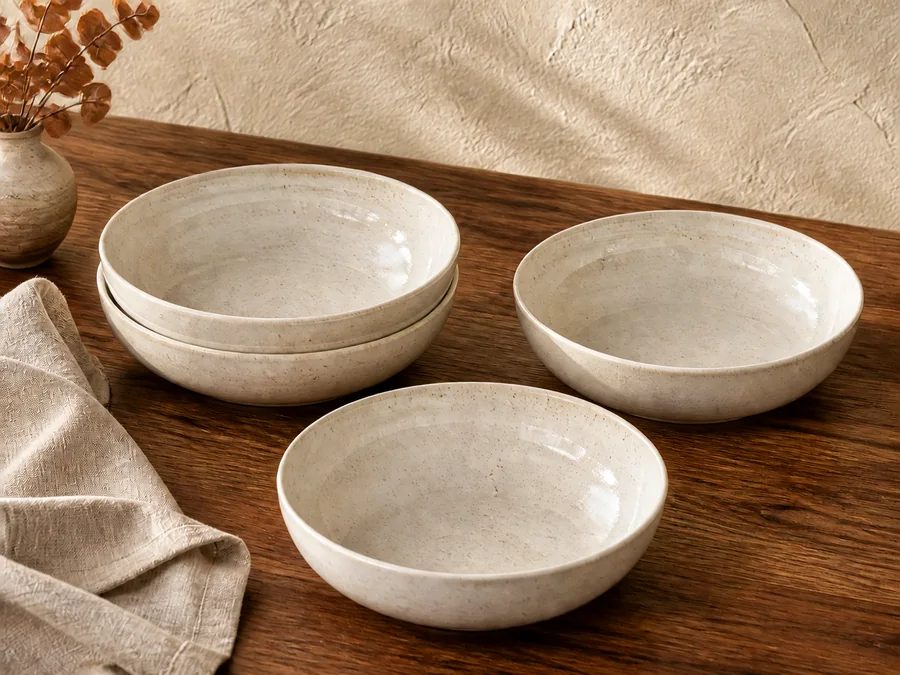
Mora 25-Ounce Porcelain Bowls, Set of Four
The listing describes four wide, low bowls suitable for the microwave, dishwasher, and oven. The open shape can work for soup, grain bowls, pasta, and everyday meals rather than serving one narrow purpose.
Check before buying: a 25-ounce bowl may be larger than some portions or cupboards need, so compare the current dimensions with your shelf and dishwasher. Ceramic can chip, and a set of four may be unnecessary for one person.
Check current details on Amazon →No-buy version: bring the widest bowls you already own to the easiest shelf. If they are used for cereal, pasta, and leftovers too, they deserve the convenient spot more than a once-a-year serving piece.
5. Keep only the soup ingredients you actually repeat
Clear containers are helpful only when they keep a useful ingredient from disappearing. There is no reward for decanting every pantry item. Choose the few staples that repeatedly create dinner—lentils, rice, split peas, noodles, or a preferred grain—and leave the rest in their original packages.
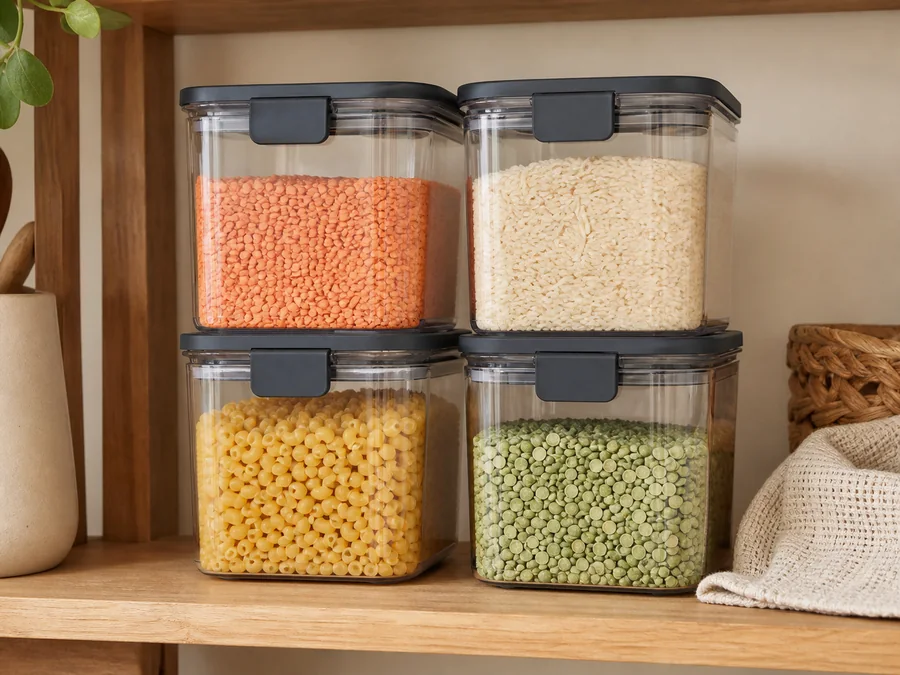
Rubbermaid Brilliance Pantry Food Storage Container Set, 8-Piece
The selected set contains four clear containers with four lids in 16-cup, 12-cup, 7.8-cup, and 3.2-cup sizes. That range can help group several high-use staples when bags and boxes routinely vanish at the back of a deep shelf.
Check before buying: measure shelf height and depth first; the largest containers can overwhelm a shallow cupboard. Confirm the current set contents, and skip decanting if it adds a chore without making ingredients easier to see or use.
Check current details on Amazon →No-buy version: put the original lentil, noodle, and grain packages into one clear bin and bring the bin to the front of the shelf. You get one-motion access without transferring or labeling a thing.
6. Let the utensils and towels earn their place
If the utensil drawer jams every time you need the ladle, place the soup spoon and two most-used tools in a sturdy mug or jug beside the prep zone. If the drawer already works, leave it alone. The same rule applies to towels: keep the two that dry well and feel good in the hand within easy reach, then move the decorative or worn ones out of the working area.
This is where a small kitchen starts to feel calmer. Not because every object matches, but because every object near the pot has a reason to be there.
The free 20-minute version
- Clear one square foot of counter beside the cooking zone.
- Bring the pot you use most to the front of the cabinet.
- Move everyday bowls within one step of the pot.
- Stand the ladle in a mug if the drawer is difficult.
- Bring lentils, broth, and one favorite soup grain forward.
- Cook this way for one week before deciding whether anything is missing.
Small-kitchen soup setup FAQ
What size slow cooker works in a small kitchen?
Choose for the recipes and number of servings you actually make, then compare the closed and lid-open dimensions with the counter and storage space. A three- to four-quart model may suit smaller batches, but the manufacturer’s fill and clearance guidance matters more than a general size rule.
Do I need an immersion blender for soup?
No. A potato masher works for a textured soup, and an existing blender may work when its instructions specifically allow the way you plan to handle hot liquid. An immersion blender is mainly helpful when it removes the transfer step.
Can I reheat leftovers in a slow cooker?
The USDA does not recommend reheating leftovers in a slow cooker because food can spend too long at an unsafe temperature. Reheat cooked food to 165°F using the stove, microwave, or oven, then use a preheated slow cooker only to keep it hot for serving.
Where to start tonight
Clear the square foot. Use the setup for one week. If soup night gets easier, buy nothing.
If another small corner needs the same kind of help, continue with small farmhouse coffee-bar ideas, a weekend pantry reset, or dark cottagecore kitchen ideas that still work every day.
Helpful sources: the USDA Food Safety and Inspection Service’s slow-cooker guidance, the KitchenAid KHBV53 owner’s manual, and Pinterest’s 2026 Hobbies Trend Report. Reviewed September 11, 2026.
Product note: Product details, seller information, and availability can change. Confirm the current listing, measurements, materials, care instructions, and seller before buying. No Amazon prices, ratings, reviews, or retailer photographs are reproduced here.