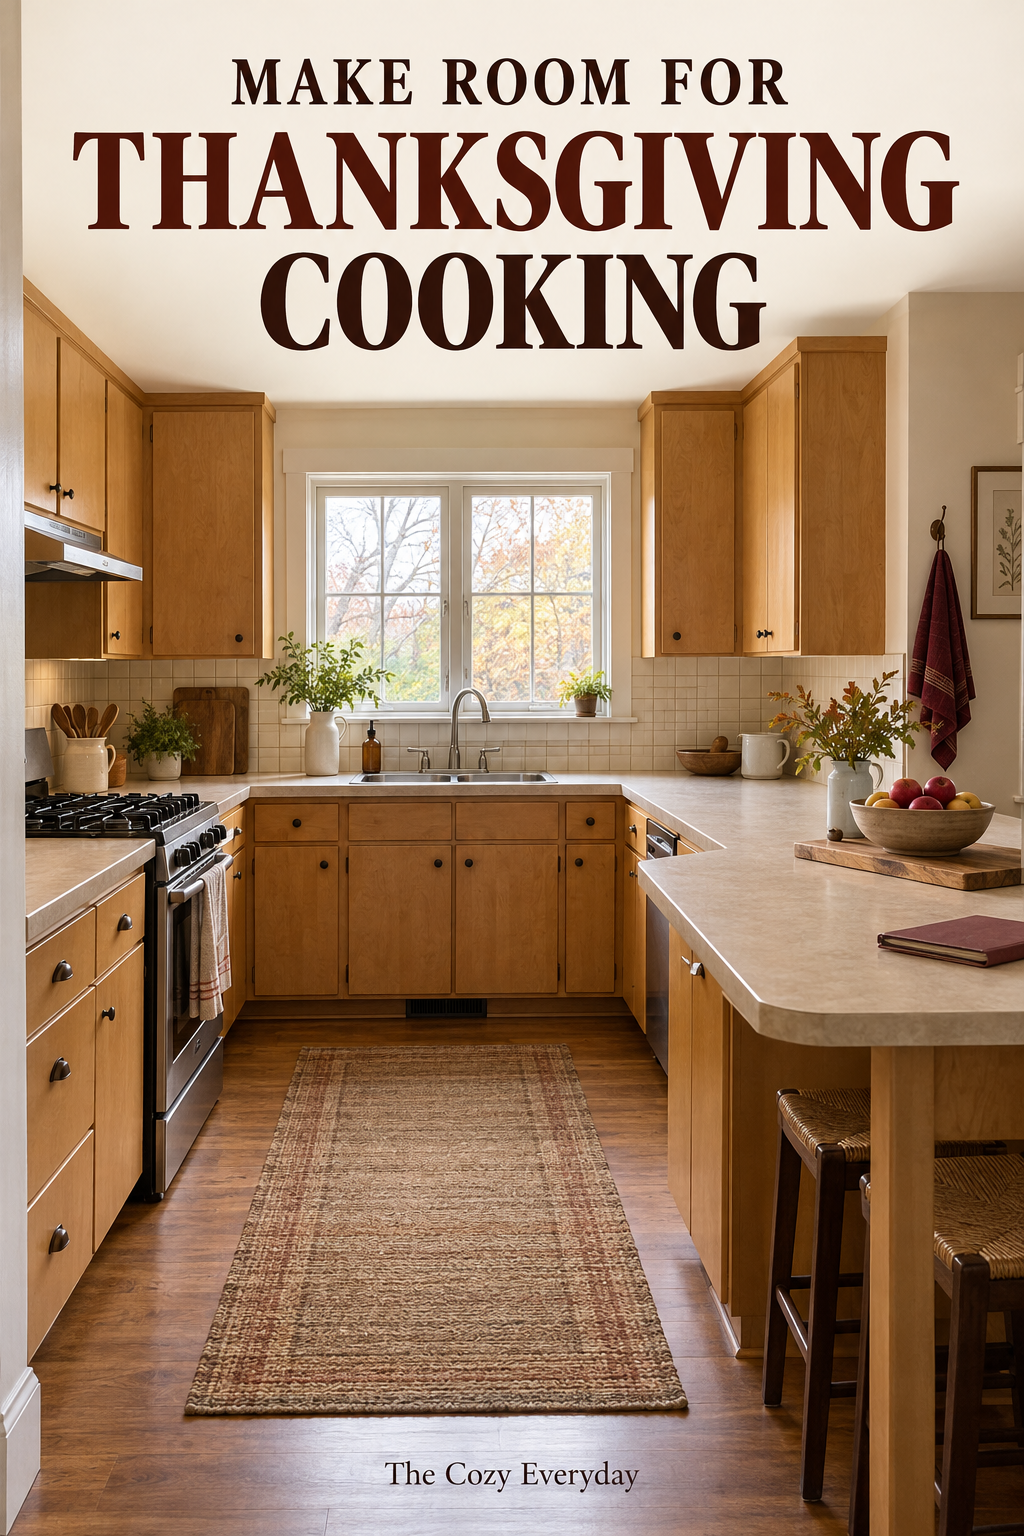
Protect one working surface
Choose the stretch of counter where a board, bowl or mixing task actually fits with everything supported. Clear the seasonal display, unopened mail and appliances you will not use for this meal. Leave the sink, stove controls, doors and walking route accessible.
Make three simple zones: work here, read and plan here, and wait here. The waiting place might hold the next dry ingredients or clean utensils; it should not become an overflow pile in the working zone. Keep raw ingredients and ready-to-eat food appropriately separated, and clean hands, utensils and surfaces as the task requires.
Borrow a dining table only for a job it suits, such as checking the recipe list or staging clean, unopened supplies. A decorative tray, fabric runner or vulnerable furniture finish is not automatically an appropriate food-preparation surface. Keep hot cookware on a suitable surface according to the cookware and surface instructions.
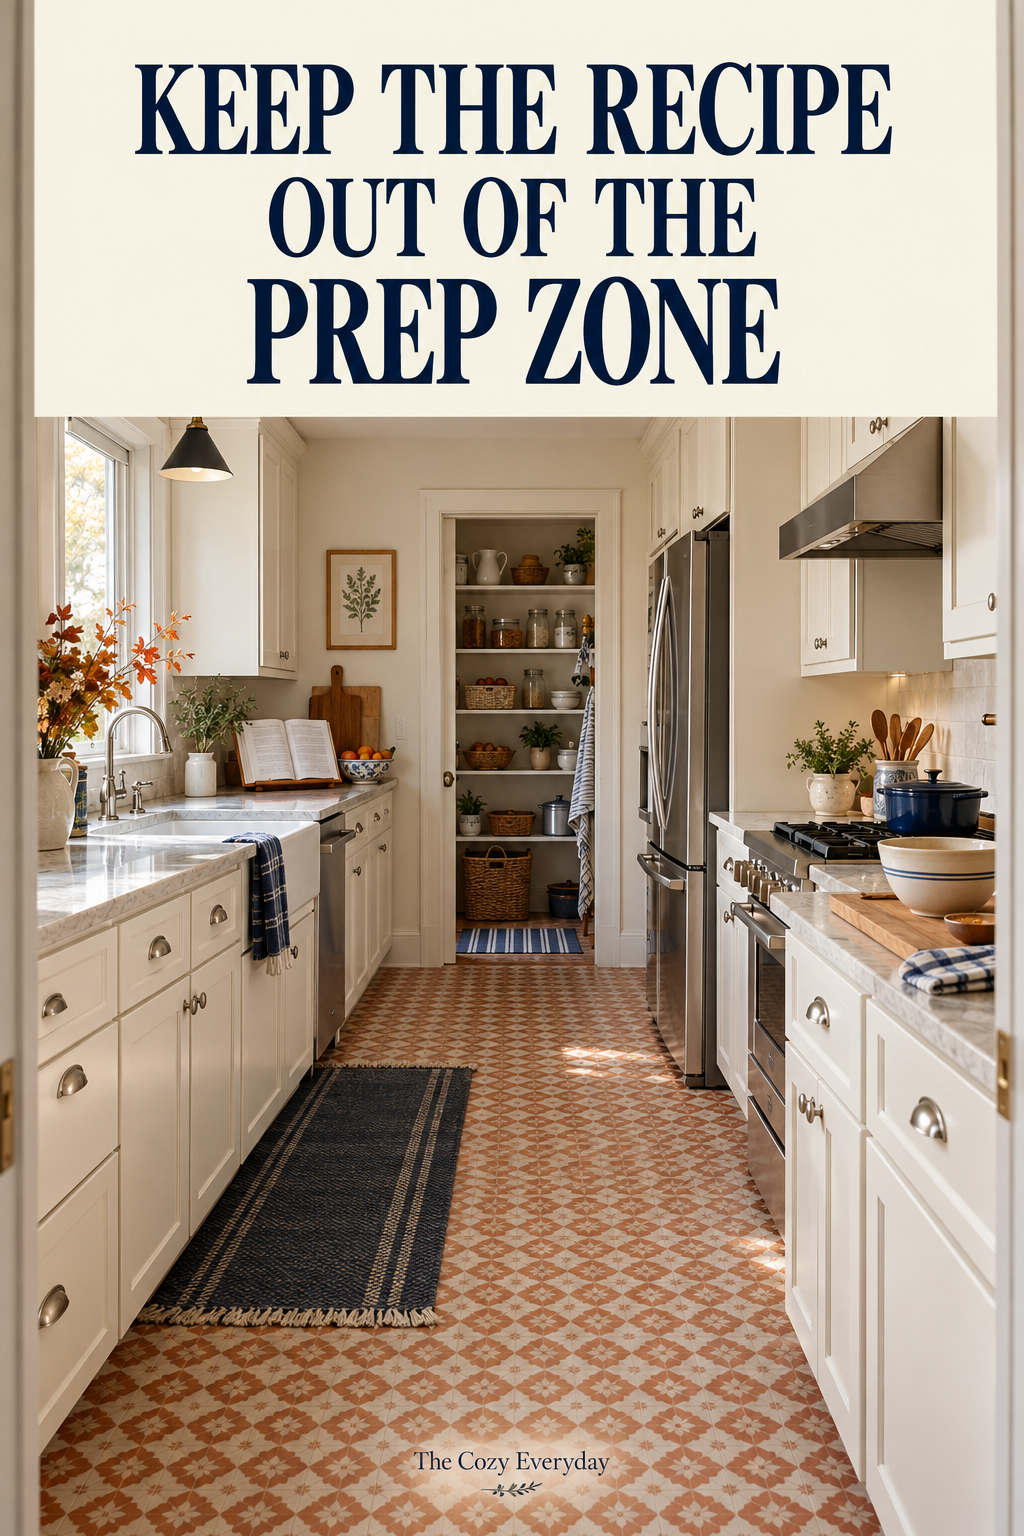
Let the recipe and the timing plan share a corner
Read every recipe before shopping or starting. Note the equipment, oven settings, ingredient preparation and resting or cooling steps it actually requires. Put that information on one sheet you can scan, rather than repeatedly opening several tabs with messy hands.
Choose a readable position outside splashes and heat. An existing cookbook, printed recipe or phone can work if it stays stable and readable. For a screen, check charging needs before cooking; do not run a cable across the preparation area or a walking route. A stand may improve the viewing position, but it does not make a device waterproof or protect it from steam.
For reminders, write the dish and the action: potatoes—check is more useful than an unexplained alarm. Put the next required action on the plan when a timer starts. A reminder is a prompt to check the food or recipe step, not proof that anything is fully cooked.
Compare four different kitchen helpers
Choose the interruption you actually have. The four options below solve different jobs; they are not a set everyone needs to buy. Current tools, a printed recipe and labeled phone timers may already cover most of the work.
Yamazaki Home Tosca cookbook stand · white
If you repeatedly move the recipe to recover your working space, this steel-and-wood stand offers a dedicated reading position, with an adjustable lower support and front lip. It is for organizing the recipe position—not for displaying a second set of kitchen decorations.
Useful when: A cook who uses a compatible cookbook or device often and has a stable reading spot outside the working and splash area.
Details to compare: The maker dimensions are 7.28 × 7.68 × 7.87 inches, with a 4.4-pound maximum load. Compare the actual book or device, open-book position, lip clearance and occupied counter depth; dimensions alone do not establish stability.
Fit and trade-off: It needs its own stable counter space. Compare the open book or device with the support and front lip, not just the closed-book dimensions.
Instructions and warnings: A wide, heavy or unbalanced cookbook may be unsuitable. Do not assume it fits every book or device, protects a screen from splashes or can sit beside heat. Follow the item's care instructions rather than treating the steel-and-wood construction as washable kitchenware.
Use what you have: Use a printed recipe in a dry, readable spot, or an existing compatible stable holder. If your current recipe position works, keep it.
Check current details on AmazonEscali Primo digital kitchen scale · chrome
A scale earns its space when a recipe supplies ingredient weights and weighing is how you want to follow it. The Escali Primo has tare and an 11-pound/5,000-gram capacity with 1-gram displayed increments. Set the empty bowl on a stable, level surface before starting and follow the scale's instructions. Keep the display visible rather than letting a large bowl cover it.
Useful when: A cook using recipes with stated weights, who needs an appropriate scale for the actual bowl, ingredients and measuring range.
Details to compare: Compare the bowl, total supported load, readable display and your recipe's quantities with the instructions. Tare can remove a container's displayed weight; it does not remove the container from the permitted total load. Displayed increments are not proof of accuracy. Confirm the actual unit's footprint before reserving a narrow shelf or drawer for it.
Fit and trade-off: Useful for recipes that supply weights; a wide bowl can obscure the readout. The listed footprint varies by source, so check the actual unit before choosing a narrow storage spot.
Instructions and warnings: A 1-gram display does not establish suitability for tiny ingredient quantities. Do not invent weight conversions for a recipe written only in volume; different ingredients and how they are packed can change the relationship. This is not a cutting board or hot-pan rest. Follow the exact scale's care and loading instructions rather than assuming a waterproof surface.
Care: The maker specifies a damp cloth; the scale is not waterproof and must not be submerged. It uses two AA batteries. Follow the exact instructions for battery type and polarity; do not mix old and new batteries.
Use what you have: Choose a reliable recipe written for the measuring tools you already own, and use those tools as instructed.
Check current details on Amazon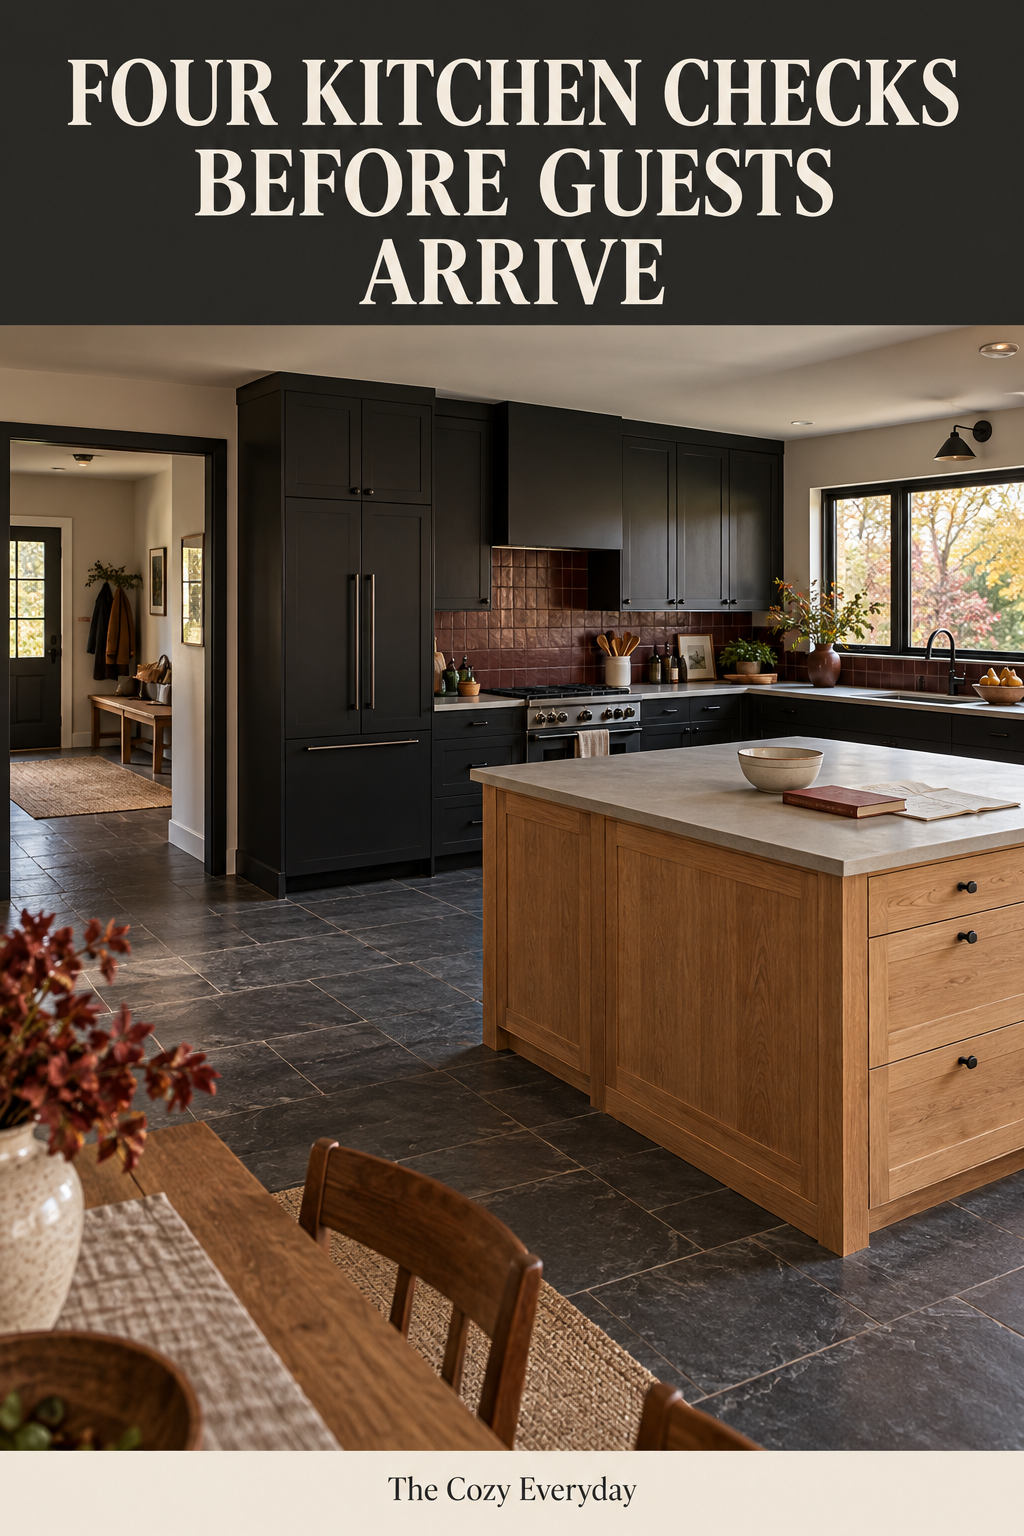
OXO Good Grips Triple Timer
This three-event timer keeps separate reminders in one place without turning your phone into the entire kitchen dashboard. It has keypad entry and adjustable volume. Keep a written dish-to-channel key beside it rather than relying on memory when several dishes are underway.
Useful when: A cook juggling separate recipe steps who finds existing reminders hard to distinguish, see or hear in the actual kitchen.
Details to compare: Check that three simultaneous reminders suit the actual menu, that you can read the display from its intended position and that the controls are comfortable for you. The selected offer includes three AAA batteries. The display enters standby after 60 seconds while active timers continue running; do not expect an always-lit screen.
Fit and trade-off: Three channels only help if you can distinguish each reminder and keep a dish-to-channel key. Phone timers may already do the job.
Instructions and warnings: An alarm can be missed, muted or confused with another one, even with adjustable volume. A countdown does not establish food doneness. Keep the plastic device in a stable, dry spot away from hot cookware, steam and splashes, following its instructions; do not assume a hot appliance or an improvised mounting position is suitable.
Care: Wipe with a damp cloth; do not immerse. Follow the supplied instructions rather than washing the timer with the dishes.
Use what you have: Use clearly labeled phone timers or the reminders already available on your appliances, with a written action plan. Check that you can notice and distinguish them before the busy part begins.
Check current details on AmazonTempPro TempSwift TP19H · bright orange
This folding stainless-steel probe is a handheld tool for temporary spot checks, with a rotating backlit digital display and one included AAA battery. It is a different job from an oven timer or a leave-in probe.
Useful when: An adult cook who needs a suitable handheld food-temperature check and can follow the thermometer and food-safety instructions.
Details to compare: Check that the probe and rotating display suit how you will take a spot check, and read the handling instructions before use. Choose a different type of tool if you need continuous temperature monitoring while food cooks.
Fit and trade-off: This is a temporary handheld spot-check tool, not continuous monitoring. Choose a different tool if you need a leave-in probe.
Instructions and warnings: Never put this model in an oven or leave it inserted while cooking. The hot probe can burn. The manufacturer warns about the built-in magnet and cardiac pacemakers; affected readers should review the maker's instructions before choosing it. Adult use is the editorial recommendation.
Care: The maker's manual says no dishwasher or immersion. Clean the probe with a damp soapy cloth or sponge, then dry, following the exact instructions. Use correct AAA polarity and remove the battery for storage longer than four months.
Use what you have: Use a suitable food thermometer you already own according to its instructions. Do not substitute color, a timer or a visual guess for a required temperature check.
Check current details on AmazonMatch the setup to the meal—not the size of the kitchen
One cook, a familiar menu
Start with the recipe sheet, existing reminders and the tools you already use. A stand is optional; a second timer is useful only if it fixes a real reminder problem. Do the preparation in a sensible order rather than bringing out every ingredient at once.
Several people helping
Give each person a clear task and agree who owns each alarm. Keep the main work area and routes open; do not make a visitor reach across active cooking to read the plan. Several unlabeled timers are not a substitute for knowing who checks what.
Lots of baking or weight-based recipes
Keep the recipe's units visible and compare a scale against the actual bowl and quantities. Stage only the ingredients for the next recipe. Clear and clean between tasks as needed instead of creating a permanent baking spread across the room.
Keep the temperature check separate from the timing plan
Cooking times help you plan, but the food-temperature check has its own job. For turkey, USDA guidance says to check for at least 165°F in the thickest part of the breast, innermost thigh and innermost wing, avoiding bone. Follow the thermometer's instructions and the current guidance for the actual food you are preparing.
Keep the appropriate food-safety reference available with the recipe. Plan the place for a clean thermometer, clean it as its instructions require, and take care with hot food, cookware and the probe. This is a kitchen-setup guide—not a complete cooking, cooling, storage or reheating procedure, and a timer is not a doneness test.
The useful night-before reset
- Clear the work zone. Put away what the meal will not use; keep the counter, sink and routes functional.
- Read and group the recipes. Check your actual equipment, ingredients and preparation steps. Do not invent a shared cooking temperature or schedule for dishes with different instructions.
- Check the reminders. Label the dish and required action. Confirm batteries, visibility and whether you can notice the alarm in this room.
- Check the tools you already own. Confirm scale range if needed, stable recipe placement, thermometer instructions and safe storage.
- Choose the stop point. Return spare tools and supplies so the kitchen still works for breakfast, a drink or another person.
The goal is not a kitchen that looks unused. It is a kitchen where the next task has room to happen. Add one helper when it solves a repeat interruption; leave the rest of the counter for the cooking.
Thanksgiving kitchen-prep questions
Do I need all four helpers?
No. They solve four different problems. Keep suitable tools you already own and buy only for a gap that matters in your cooking.
Can this work without an island?
Yes. Pick a genuinely usable working stretch of counter and keep recipes and waiting supplies from occupying it. Do not create an obstacle or unsuitable food-preparation surface just to add another zone.
Can a phone replace a separate timer?
It can, if its reminders are clearly labeled, noticeable and reliable for you. A physical timer is an option, not an automatic upgrade.
Is the TP19H a leave-in oven thermometer?
No. The manufacturer's manual specifies temporary handheld use; never use it in an oven or leave it inserted while cooking.
Helpful primary references: USDA FSIS: Thanksgiving food safety.
Product note: Published offer and narrow product details were reviewed October 19, 2026. Seller, availability and specifications can change; check the current listing and supplied instructions before buying. No prices, ratings, retailer photographs or hands-on performance claims are reproduced.