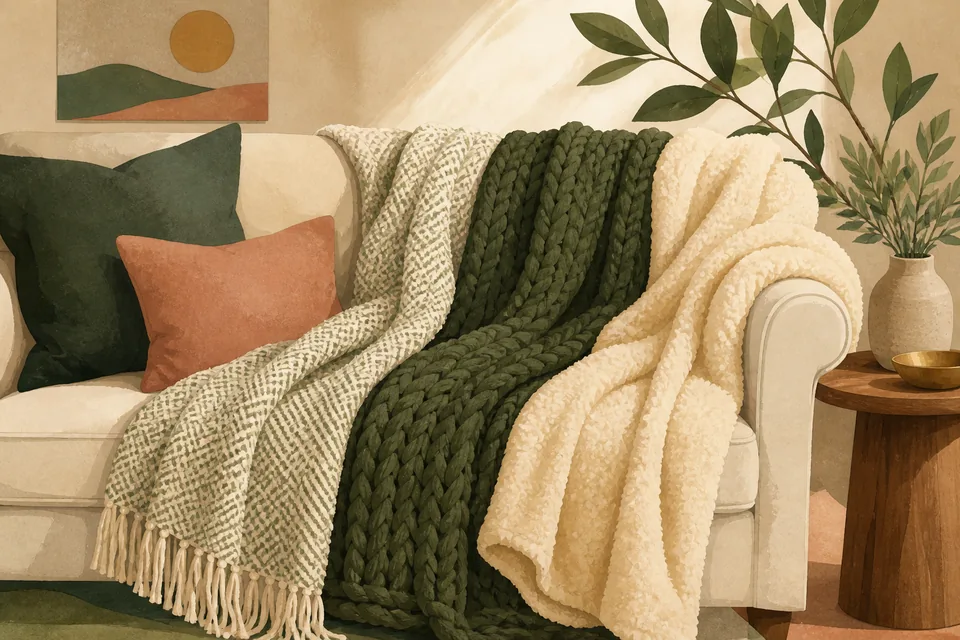
A sofa can feel inviting with one useful throw, several layers or no blanket on display. Start with how you sit and what you reach for, rather than trying to reproduce a catalog arrangement. A clear seat and a blanket within reach may be all the change you need.
The "layered throw method" here means trying contrast with things you already own. A throw against the sofa upholstery, or beside an existing cushion, can provide that contrast without adding another blanket. More layers are optional, not a shopping list.
Start with the throw you actually use
Try your existing throw over one sofa arm, folded across the back or in a reachable basket. Choose the position that leaves the seat usable and does not trail into a walkway. A tidy fold and a casual drape are both fine; use whichever is easier to put back.
Try an existing contrast before adding a layer
If you want more visual variation, compare the throw with a cushion, the sofa fabric or another textile already in the room. Contrast might come from a ribbed texture against a smoother surface, or a small color change. Two similar throws can also suit your room; this is a styling preference, not a rule about doing it correctly.
Where to actually put them
Try one of these placements with the blanket you already have:
- Over a sofa arm: leave enough clearance that it will not catch under feet or interfere with the furniture's moving parts.
- Across the back: fold it to a size that stays put without covering the whole seat.
- In an existing basket or on a shelf: keep it reachable and avoid cramming in more than is easy to take out and return.
A note on color
You do not need a new palette. Repeat a color already in a rug, artwork or cushion if you want a more connected look. Warm neutrals, dark colors and brighter accents can all work; check the combination in your own room's daylight and evening light before buying anything to match it.
Keep the arrangement easy to live with
If the arrangement needs constant refolding or leaves nowhere to sit, simplify it. Store an extra blanket rather than keeping it on display for the sake of the look. A room does not need to appear rumpled or perfectly styled to be comfortable.
Use the new placement for a week. If the blanket is comfortable, easy to reach and simple to put away, stop there. Consider another textile only for a specific unmet need — such as a second person needing a separate blanket — not because a photo has three.